Installing the Email Integration Service
This section outlines how to install the KronoDesk email integration service onto your environment. Depending on your environment you can install the email integration service on:
-
Your KronoDesk application server
-
Your corporate mail server
-
A separate workstation that can connect to both KronoDesk and your mail server
If your KronoDesk installation is installed on-premise, then you can use options (1), (2) or (3), if your KronoDesk installation is hosted by Inflectra as a Software as a Service (SaaS) subscription then you'd need to use either option (2) or (3).
Once you have downloaded the KronoDesk email integration installation package (InflectraEmailIntegration.msi) from the Inflectra website you should download it onto the appropriate computer and double-click on it to run the Windows installer package:
You should click on the "Next" button, read the End User License Agreement, check the box that you agree with its terms and then click the "Next" button. This brings up the installation location page:
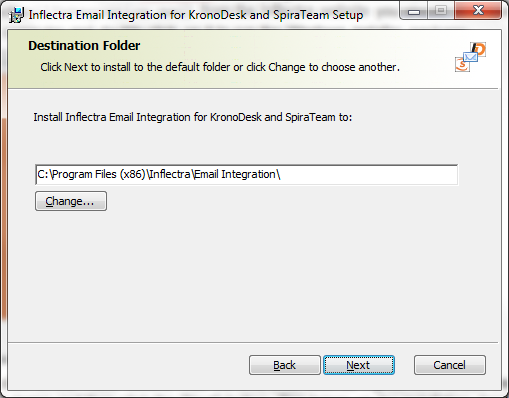
You should choose the appropriate place to install the email integration service and then click "Next". On the next screen click the "Install" button and it will complete the software installation.
Once the installation has completed, you will see the following new service listed in the Control Panel > Administrative Tools > Windows Services section:
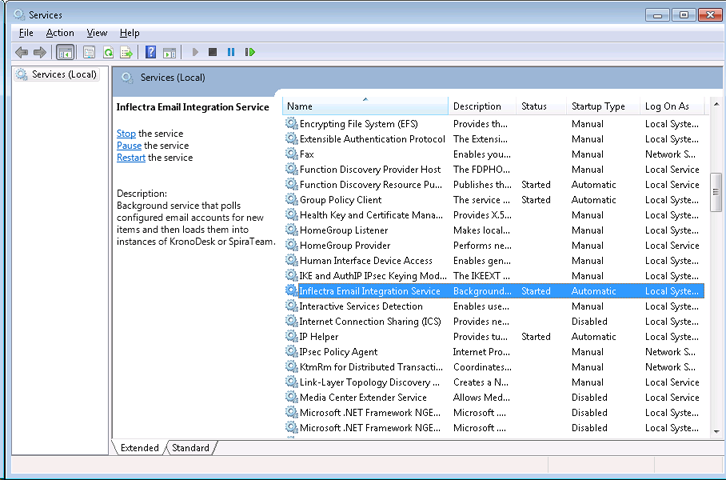
The service should be listed to run in Automatic mode and should already be started.
Note: This email integration service is able to integrate with both SpiraTeam and KronoDesk from Inflectra, however the focus of this guide is the integration with KronoDesk only.